
7 Steps to Simplify Digital Lesson Planning
Last Updated: November 2, 2026
Quick Summary
To simplify digital lesson planning, cut the number of places you look by setting up one home base for every plan, building reusable templates, and naming files so you can find them without opening them. Align objectives with standards before planning activities, differentiate by changing one variable, and review tagged plans to refine them.
- Pick one place where every plan lives and stop saving plans anywhere else.
- Build three templates: a standard lesson, a lab or activity lesson, and a review day.
- Name files by subject, unit, and type, keeping one folder per unit.
- Write the standard code next to each objective before you plan the activity.
- Differentiate by changing one variable while the objective and activity stay the same.
Table of Contents
- Why Digital Lesson Planning Gets Complicated
- Step 1: Set Up One Home Base for Every Plan
- Step 2: Build Time-Saving Lesson Plan Templates
- Step 3: Organize Media Assets and Printable Educational Worksheets for Teachers
- Step 4: Align Objectives with Educational Standards
- Step 5: Differentiate Instruction Without Duplicating Work
- Step 6: Best Practices for Teacher Productivity in the Digital Workflow
- Step 7: Review and Refine with Data-Driven Reflection
- Start With One Folder This Week
- Frequently Asked Questions
Why Digital Lesson Planning Gets Complicated
Digital lesson planning is the practice of building, storing, and sharing your teaching plans in a digital format instead of on paper. Done well, it saves hours every week. Done badly, it becomes a second job.
Here is the problem we see most often at The Digital Bookshelf Store: teachers do not have a planning problem. They have a scattered-files problem. Plans live in one app, worksheets in a downloads folder, slides in the cloud, and grades in a spreadsheet that nobody opens twice.
That scatter costs you real time. A common approach is to rebuild the same lesson three times because the version you saved last year cannot be found. Many teachers find that the search itself is the slow part, not the writing.
So how do you simplify digital lesson planning? You cut the number of places you look. Below, we walk through seven steps that do exactly that, starting with the single change that makes the rest possible.
Step 1: Set Up One Home Base for Every Plan
Pick one place where every plan lives, and stop saving plans anywhere else. That is the whole step.
Most teachers run three or four storage spots without meaning to. One home base means one search bar, one backup, and one link to share. It can be a cloud folder, a learning management system, or a PDF planner you keep in a note-taking app.
A printable teacher planner can work as a home base because it is portable and printable. If you want lesson plans, grade tracking, and weekly layouts in one file, our printable teacher planner puts them all in a single PDF.

Watch out: do not migrate everything on day one. Move this week's plans first, then last month's. Old archives can wait.
Step 2: Build Time-Saving Lesson Plan Templates
A template is a fixed layout you fill in, not redesign, each week. Build three: a standard lesson, a lab or activity lesson, and a review day.
Time-saving lesson plan templates share four parts:
- Objective in one sentence
- Materials as a short list
- Steps in numbered order
- Check for understanding at the end
Once those blocks exist, planning becomes filling blanks. You can browse ready-to-use printable teacher resources to drop straight into your template instead of building pages from scratch.
The mistake most guides miss: templates that are too detailed. If your template has twelve fields, you will skip eight of them by October. Four fields you always fill beat twelve you sometimes do.
Step 3: Organize Media Assets and Printable Educational Worksheets for Teachers
Name files so you can find them without opening them. That single habit fixes most resource chaos.
Use a simple pattern: subject, unit, then type. For example, science-plants-worksheet.pdf or science-plants-slides.pdf. Keep one folder per unit, and one subfolder for media.
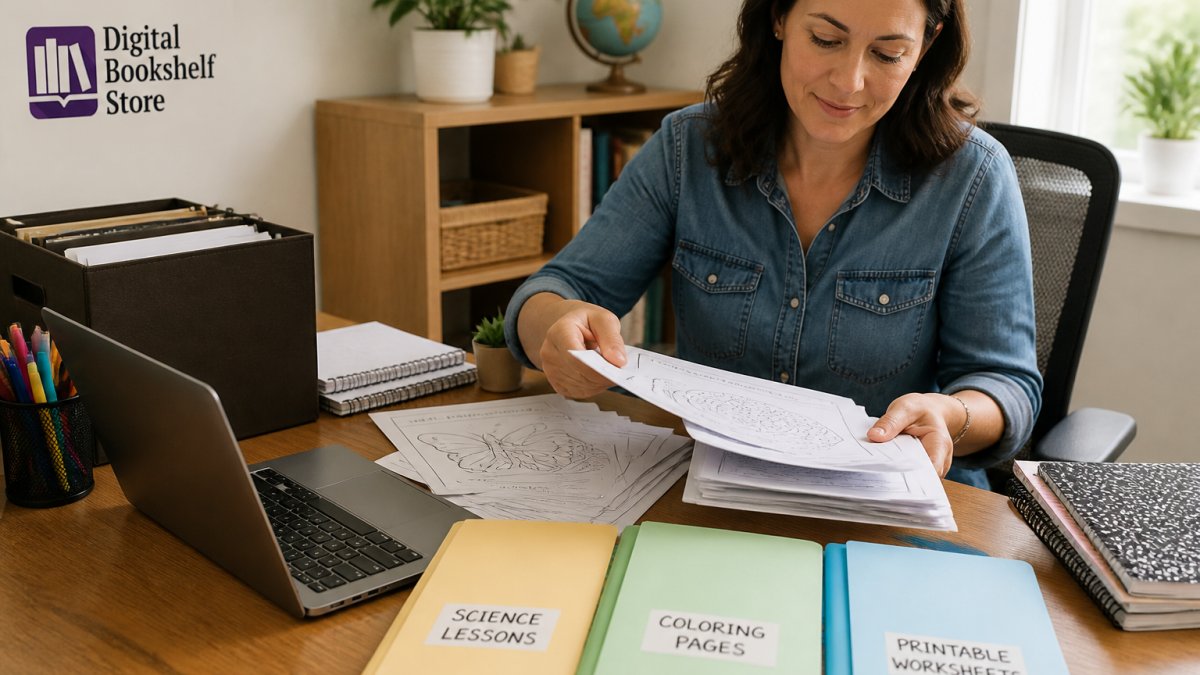
Printable educational worksheets for teachers fit this system well. A printed set goes in the unit folder, and the digital file stays in the same place, so you never hunt for a second copy.
Keep media light. Delete duplicate slide decks and blurry photos as you go. A folder you can scan in ten seconds beats a perfect archive you never open.
Step 4: Align Objectives with Educational Standards
Write the standard code next to each objective before you plan the activity. Not after.
This order matters. When the standard comes first, activities that do not serve it get cut early, and you save the time you would have spent planning them.
A practical routine:
- Open your standards document for the unit
- Copy the code into your template's objective line
- Write one plain sentence explaining what students will do
- Check that your activity actually matches that sentence
If you teach science, hands-on work makes this easier because the activity and the objective sit close together. Our science activities collection offers printable, hands-on options you can use while planning.
Step 5: Differentiate Instruction Without Duplicating Work
Differentiated instruction means adjusting one part of a lesson for different learners, not writing three separate lessons. That distinction is where the time savings live.
Printable Teacher Planner 2026-2027 – Lesson Plans, Grade Tracking & Classroom →
Change one variable at a time:
| Learner need | What to change | What stays the same |
|---|---|---|
| Needs more support | Add a word bank or sentence starters | Objective and activity |
| Ready for more | Add an extension question | Objective and activity |
| Prefers visuals | Swap text for a labeled diagram | Objective and activity |
| Needs less writing | Offer an oral check-in | Objective and activity |
One plan, one change, three versions. Keep the variants in the same unit folder so next year's you can find them.
A common mistake is rebuilding the whole lesson for each group. That doubles your planning load and rarely improves the outcome. Change the support, keep the goal.
Step 6: Best Practices for Teacher Productivity in the Digital Workflow
Best practices for teacher productivity come down to three things: batching, boundaries, and making your tools talk to each other. Most guides stop at the first two. The third is where the hours actually disappear.
Start with a weekly rhythm that batches similar work:
- Monday: check standards for next week
- Tuesday: fill templates for two lessons
- Wednesday: fill templates for the rest
- Thursday: gather and print resources
- Friday: review and adjust
Set recurring blocks in your calendar and treat them like meetings with yourself. If you are unsure whether to plan on screen or on paper, this guide on digital planner vs paper planner can help you choose. Cloud-based storage means your plans follow you between home and school, so you are not redoing work on a different device.
Now the part almost nobody covers: interoperability. A common pattern is that a teacher's plan lives in one platform, the gradebook in another, and the learning management system in a third. Every time you copy a lesson title from your planner into the LMS, or retype a standard code into the gradebook, you pay a small tax. Do it forty times a week and it becomes a planning session you never scheduled.
A practical way to cut that tax:
- Pick one primary planning surface and let the other tools pull from it, not the reverse. If your LMS can import a calendar feed, publish your plan as a calendar rather than retyping it.
- Use a consistent naming convention across platforms so the same lesson has the same title in the planner, the LMS, and the gradebook. Search then works everywhere.
- Keep grade data in one place. Export from the gradebook into your planner rather than maintaining two lists that drift apart.
- Check for native integrations before adding a new tool. A tool that syncs with what you already use beats a better tool that creates a fourth silo.
Watch out: do not try to automate every handoff at once. Pick the single copy-paste step you repeat most often, usually lesson titles into the LMS, and fix that one first.
Step 7: Review and Refine with Data-Driven Reflection
Data-driven reflection means using what actually happened in class to adjust next week's plan, and, over time, to adjust the plan itself. Most teachers stop at a quick note. The deeper move is to treat your digital plans as a dataset you can query.
Start with a short end-of-week note with three lines:
- Which lesson ran long, and why
- Which activity got the best response
- One change for next week
That note is the raw material. To turn it into something useful, tag it. Add two or three consistent tags to each plan as you review it, for example ran-long, high-engagement, or needs-rewrite. Because your plans are digital, those tags become searchable. By the end of a term you can pull up every lesson tagged ran-long and see the pattern: maybe your lab lessons consistently overrun because the setup step is underspecified. That is a fix you would never spot from memory alone.
Formative assessment feeds the same loop. Exit tickets, quick quizzes, and notebook checks tell you whether the plan worked, and the results belong next to the plan, not in a separate folder. Our science interactive notebook template gives students a structured place to record data and reflect, which gives you a record to review later.

A simple quarterly routine makes this concrete:
- Search your tagged plans for the most common problem tag and rewrite that one template field.
- Compare the same unit year over year and keep the version that worked.
- Retire plans that never get reused. A plan you have not opened in two years is clutter, not an archive.
This is the step most teachers skip, and it is the one that makes next year easier. A plan you never review is just a document. A plan you tag and revisit becomes a record of what actually works in your classroom.
Start With One Folder This Week
Simplifying digital lesson planning is not about finding a better app. It is about cutting the number of places you look until planning stops leaking time.
Pick one home base this week. Build one template. Name one folder properly. That is enough to feel the difference.
At The Digital Bookshelf Store, we make printable planners and science resources that fit this workflow. The printable teacher planner includes lesson plan and grade tracking pages in one PDF. The homeschool planner starter kit is listed as flexible for any grade level. And the science interactive notebook template gives students a place to record and reflect.

Get started with The Digital Bookshelf Store and build a planning system you will actually keep using.
Frequently Asked Questions
What are the most efficient digital tools for lesson planning?
Most teachers only need three: a cloud-based storage folder for files, a PDF app that lets you type on templates, and one planning document you reuse each week. A printable teacher planner PDF can serve as the planning document, and apps such as GoodNotes or Notability can be used to type on it. Keep the tool count low. Every extra app is another login and another place files can hide, which slows down digital lesson planning instead of speeding it up.
How can teachers reduce the time spent on daily lesson preparation?
Reuse instead of rebuild. Save one lesson plan template with your objectives, materials, and assessment sections already laid out, then duplicate it for each new lesson. Batch similar tasks, such as writing all of Monday's objectives in one sitting. Keep worksheets and media in named folders so you never search twice for the same file. Teachers who plan in blocks rather than day by day usually finish prep faster and with fewer gaps.
How do you create a reusable digital lesson plan template?
Start with the sections you fill in every single lesson: learning objectives, materials, lesson pacing, activities, and formative assessment. Build those as fixed headings in a PDF or document, then leave blank space under each one. Save it as your master copy and duplicate it for each new lesson so the original stays clean. A printable lesson plan template from a teacher planner PDF gives you this structure already built, which saves the setup work entirely.
What are the benefits of switching from paper to digital planning?
Digital planning means one search finds any past lesson, files sync across devices, and you can duplicate a template in seconds instead of rewriting it. Cloud-based storage also protects plans if a notebook is lost. The tradeoff is screen time, so many teachers print only the pages they need each week. A printable planner PDF gives you both options: type on it digitally, or print the pages you want on paper.
